
9 Live Streaming Tips and Tricks for More Engagement
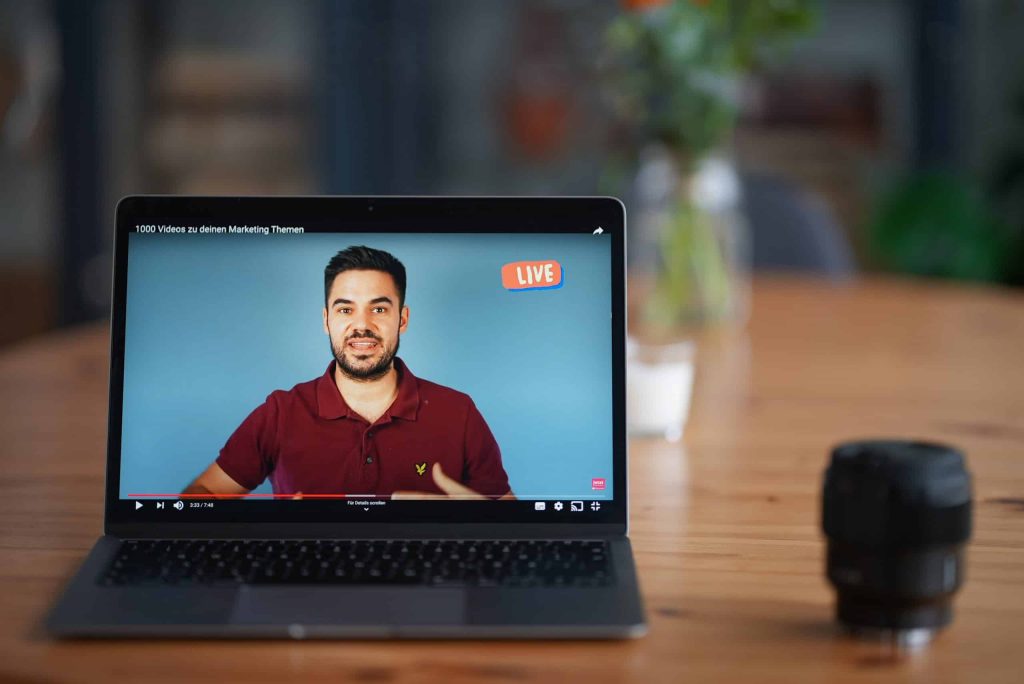
One of the biggest benefits of getting a livestream is that you get to engage with your audience, but how do you get people to actually show up and do things for your livestream so that you can have that engagement and build up for every community that you’re looking for? I’m going to break down for you how to create a more engaging livestream so that you can just crush it with your live streaming goals. Let’s dive into these different things that are going to help make sure that your live streaming game is going to be on point. Now, before you even start live streaming, before you even hit that go button, you want to make sure that you have everything in place to make sure that your livestream has the most chance for success, that you have a good view for your webcam, that you have really good internet, that you have good lighting, that you have good sound. To know all the things that you need to have in place in order to hit that live button with success, I have a checklist that’ll break down everything you want to make sure that you grab and do before you even dive in to your livestream. This checklist is going to go over things like lighting, sound, run of show and so forth. Live Stream Promotion It’s important to make sure that you’re not just going live for the sake of going live. You want to have a warm-up and a lead into it. You’re going to be able to schedule your livestream up to a week before they go live, and no longer than that. Facebook does not let you do anything more than seven days in advance, and YouTube is going to want you to do that as well. So schedule your livestream ahead of time and make sure you have everything very clearly spread out. You want to have your title. You want to have your description. You want to have a good thumbnail and you want to know what time you’re going to be there. A lot of people ask, can I promote? Can I boost, put money behind my livestream? And the answer is no, you cannot boost or promote a livestream and largely because that content hasn’t been created yet. In order for Facebook or Instagram or YouTube advertising to work, they have to know what the content is going to be. Well, you haven’t gone live yet, so you don’t know what you’re going to say or do yet. Therefore, they cannot approve any kind of boost of post because of their terms and conditions. However, what you can do is create a Facebook event that will promote your livestream. You can boost that. You can also do posts on your Facebook and boost those as well, or do them on Instagram or wherever else you are using. Whatever your means are for promoting, by having that scheduled link to share, it’s going to make it easier for you to promote your live stream and get more people to attend. Producing your live stream So now, we’re going to dive in what you want to do during your livestream to make sure that it flows well and that it’s engaging well. First things first, don’t jump right out of the gate with what you’re going to say. I don’t jump into, “hey guys, let’s dive into this”, because you’re not giving any time for your audience to join in. It takes a second for those modifications to come through for Facebook and YouTube. So give it a little bit of a padding, like a three-minute timer might be a really great lead in for you. By having a countdown timer, it gives time for all of the notifications to happen, for people to join in on you so that you know what’s going on and they can kind of get all set and cozy and ready to consume your livestream that you have created. If you just dive into it, you’re going to hurt yourself. For those of you that record for the replay, remember in Facebook and in YouTube, you can edit out those beginning and end parts that maybe you don’t want to have for your recording that you use again and again and again. So don’t worry about that timer staying there forever. You just want to make sure you have it leading into the livestream.The next thing that you can do for your livestream to make it more engaging is start with a little bit of banter and fun. Have a reason leading into what your main topic is. So let’s say you’re doing a whole video about the latest in the insurance business, like 10 things you need to know about what’s changing in insurance. Maybe you can have a little banter about humor, funny things, things that are happening at your agency or whatever it may be leading into that. One of the bonus steps I want to give to you is it’s really great to have a co-host, even if it’s just a guest that comes in on a regular basis to help you. It’s really helpful to have someone to bounce things off of and have conversations with. Trying to do a livestream by yourself can be really hard. I know, I do it on a regular basis with the Women of YouTube group and a lot of it’s because I’m teaching people how to do things and I’m relying on the comments to get the back and forth started, but when I have a guest on, it just goes so much better and it’s just so much more fun and fluid. It’s much more conversational versus me commenting on comments. So, consider having a guest to have as a banter for you and have that lead in, that warm-up, into your main topic. Getting Engagement on your Live Stream
How to Streamyard: Using Streamyard Record Only Feature AND How To Go Live Later With Recording
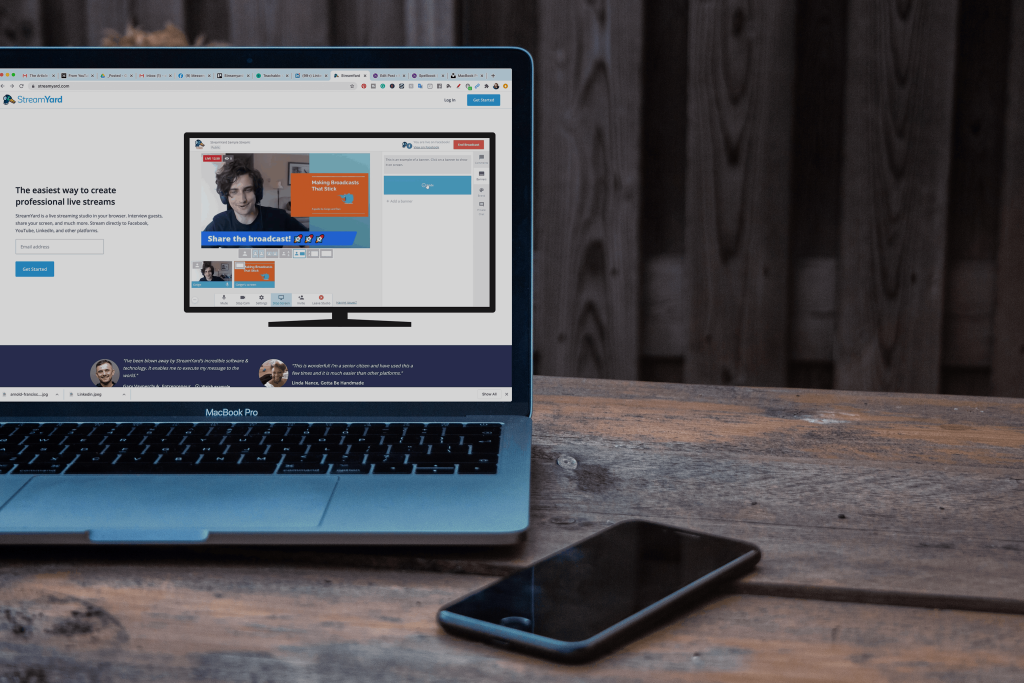
There are so many great features available on Streamyard for all of your live streaming needs. But one of the features that a lot of people overlook is the record only feature on Streamyard. In this post, I’m going to break it down for you. Why you want to use the record only feature, how you use the record only feature, and how you can go live after you have prerecorded your video. Why Use the Recording Feature So why would you want to use the record only feature on a live streaming tool? Well, a lot of people had requested this from Streamyard when they were going through their initial setup and creation of the tool. To figure out how people were using it, I turned to the streamer community over on Facebook and asked how are they using it for the record only? And the answers I got back were so great. I had to share them with you here. Use Recording For Testing The most popular reason was for testing. One of the things that’s so uncertain about live-streaming is, is this going to work right? Is my new tech going to work? Is my internet going to work? And so many different things. So by testing out the record only, you can not only go through your live-stream as a demo, but you’re also going to be able to then play it back for yourself, like in a movie file or something and see what went wrong, what was working, what wasn’t and all that good stuff. That’s why Streamyard is so powerful; it’s not only setting you up for successful live-stream but also giving you ways for you to test it as well. Use Recording for Presentations A lot of people also like to use Streamyard for recording presentations, tutorials courses, all of those educational based things, because of one really cool feature: you can have your information on the screen, as well as your face on the side because Streamyard allows you to have different ways to layout who is on the screen and what it looks like, whether your face is big, your presentation is small or vice versa, or just the presentation or just your face. There are so many different ways that you can use the layout in Streamyard. It’s going to make it really fun and interactive for you to have a next-level presentation for whatever you’re trying to do. Why Pre-Recording is so Versatile Now, oftentimes when we are live-streaming, we don’t always have the option to go live. Maybe we have an interview that we really want to do, and the person just can’t make themselves available or maybe you’re going to have really spotty internet, or maybe you’re going on vacation and you just want to have the option to go live at a different time. Well, if you use the record only feature, you can sell all of the benefits and features that are available to you from stream yard. And then you can just kind of go live later. A lot of people also like using the record only tool for the podcast recording. Again, you can have guests on, you can do things on the screen, all of that really great stuff, or maybe you’re going to edit it later. So if you know that you’re gonna flub up or something happens like the dog barks, if you’ve got kids around, but you really have to get something recorded, record only allows for you to record those videos in a fun, interactive way. Again, using those Streamyard features that aren’t available to you when you’re just putting up a camera and hitting record. How to Record with Streamyard Okay, so when we’re getting started we’re going to go to Streamyard and click create a broadcast. You have all of the different destinations that you’ve created, but we want to skip the destinations and click record only. This is where we’re going to put in what we’re going to do. So, I have a presentation that I need to record for a podcast summit that I’m participating in. So I’m going to enter my broadcast and I also want to add in my presentation. So what I’m going to do at the bottom is hit screen share, and I’m going to pick the tab I want to be able to show on the screen. It will automatically pop me over to the place I want to screen share from, and I don’t want to do that. So I’m going to click back onto Streamyard. I’m going to add myself to this stream. And once you are here you can change the layout, make yourself bigger or smaller, make the presentation bigger or smaller, have just yourself or just the presentation. I can change out my branding to match what I am doing. Let’s say I’ve done my full presentation. I’ve played with all the things, added all of my overlays and I hit end broadcast. Now what I need to do is download the recording. So I hit links and I download my recording and I can do my recording only, or my audio-only, I’m going to do the recording and then it’s just going to download it. Streamyard saves your recordings for up to 15 days, I recommend downloading them once they are done so that you have them natively on your computer. And as you can see, to make computers. So, here’s my video that I did with my live-stream. What to do with Your Recorded Video So now that you have recorded your video and it’s all set to go, you want to go live with that video, but you can’t because it’s prerecorded. So how do you do that? Well, that’s where today’s sponsor Live Pigeon comes in. Live Pigeon allows for you to live-stream your prerecorded content, to Facebook and YouTube So incredibly easy. I literally use this tool
SHARING MY YOUTUBE SECRETS: Small Hacks You Can Make For Better Performing Videos
Sharing my Youtube secrets from my years of experience on how I make my Youtube videos perform better not just in the algorithm, but also for my brand. You won’t find most of these Youtube secrets with BIG Youtubers, so you are definitely going to want to watch until the end.